Quick Navigation
WordPress on Ubuntu 20.04, 22.04, and 24.04 Standard Guide
This guide covers the necessary steps to launch and complete the initial setup for the WordPress AMI on Ubuntu 20.04, 22.04, and 24.04. The AMI configurations for these versions are consistent for the initial setup and verification process.
Overview: This AMI provides a pre-configured Ubuntu environment with WordPress, MySQL database, and Apache web server, ready for immediate website deployment and content management.
Step 1: Launch EC2 Instance
- Navigate to the AMI marketplace and select the desired AMI:
- Click “Continue to Subscribe”
- Accept the terms and click “Continue to Configuration”
- Select your preferred AWS region
- Click “Continue to Launch”
Recommended Configuration
- Instance Type: t3.small (recommended) or higher based on your traffic requirements
- Storage: Minimum 20-30 GiB or adjust based on your content needs
- Security Group:
- Port 80 (HTTP) – Required
- Port 443 (HTTPS) – Recommended for SSL/TLS
- Port 22 (SSH) – Optional (for server management)
Step 2: Verification and Initial WordPress Setup
Once the instance is running, you can access the WordPress web setup interface to complete the installation.
- Access WordPress: Open your web browser and enter the public IP address of your running instance in the following format:
http://<server ip address>/wordpress- Example:
http://3.84.180.185/wordpress
- Example:
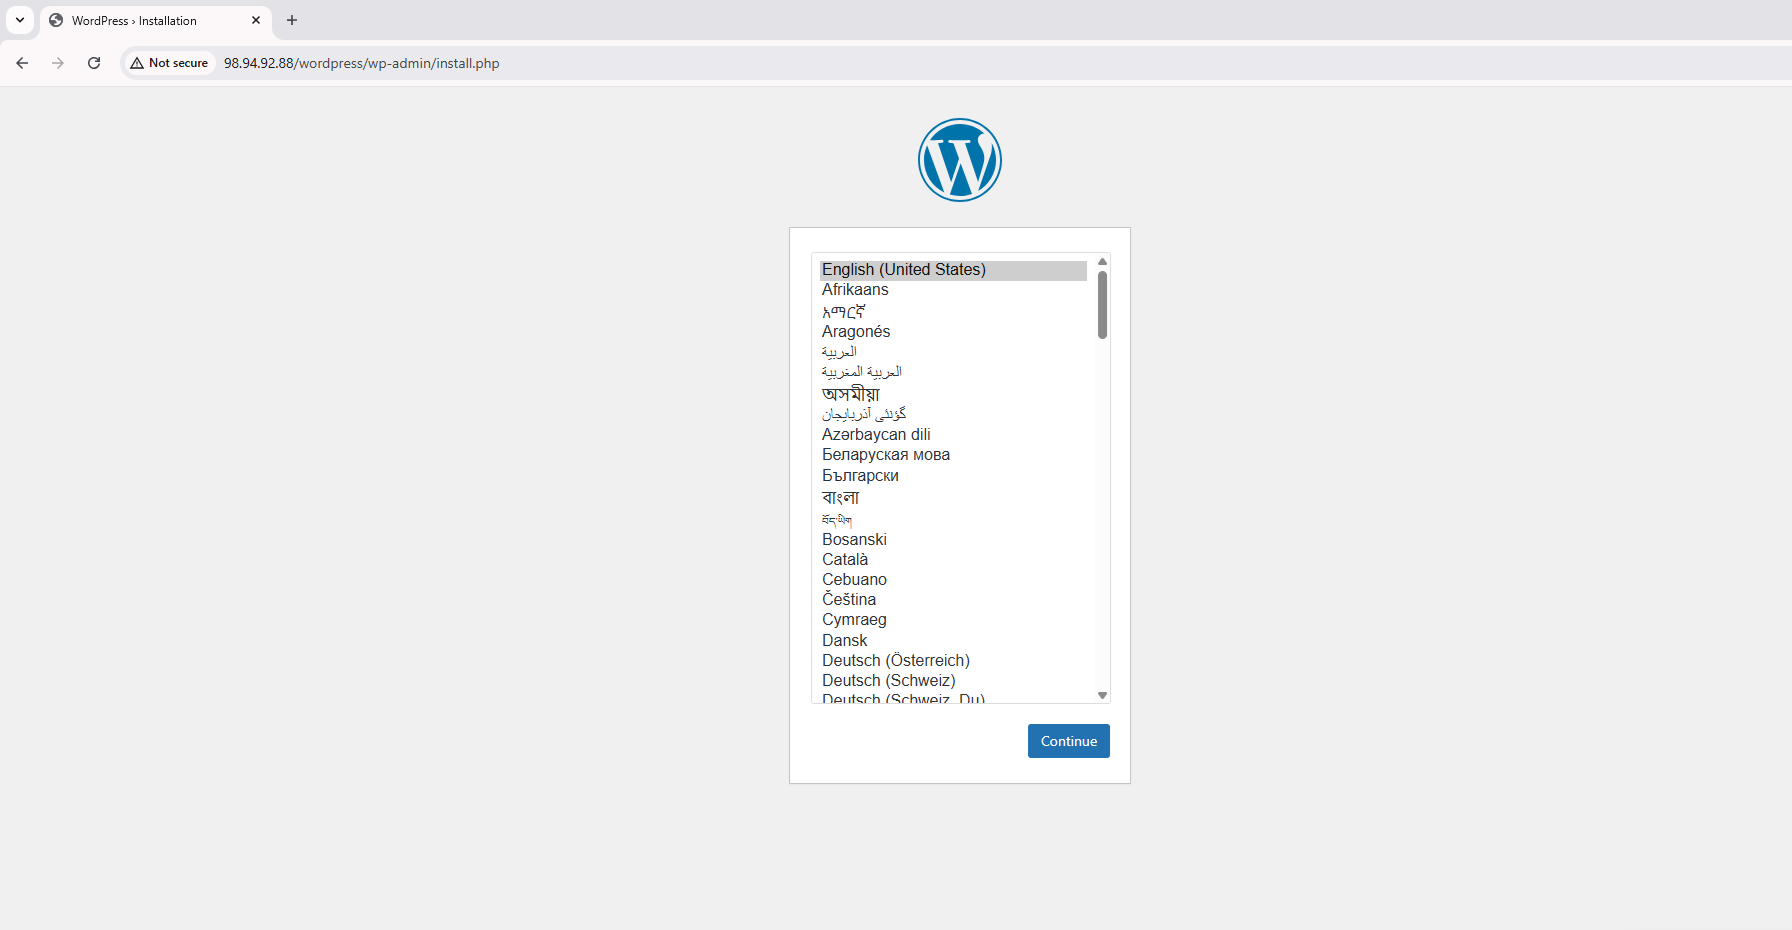
- Language Selection: The initial WordPress setup screen will appear. Select your preferred language (e.g., English (United States)) and click Continue.
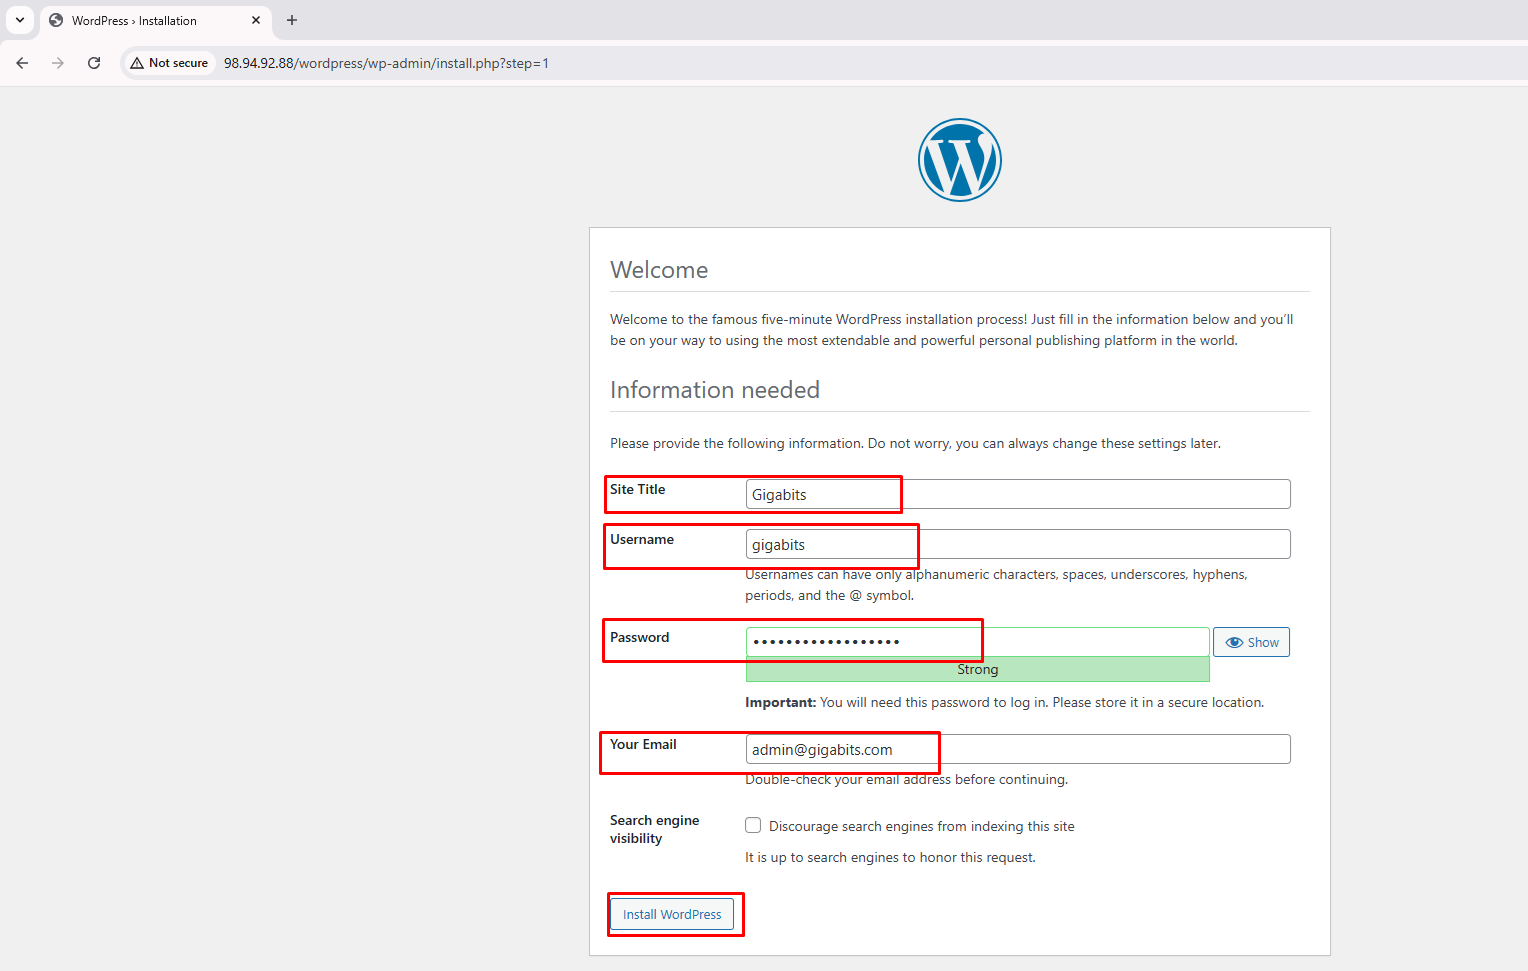
- Site Information: You will see the “Welcome to WordPress” page with fields to configure your site. Provide the required details:
- Site Title: (e.g.,
Gigabits) - Username: Choose a strong administrator username (e.g.,
gigabits) - Password: Choose a strong password. You will need this to log in.
- Your Email: Enter the administrator’s email address (e.g.,
admin@gigabits.com) - Search engine visibility: Check this box if you want to discourage search engines from indexing the site temporarily (recommended for sites under development).
- Install WordPress: Click the Install WordPress button.
- Site Title: (e.g.,
- Success Message: A success message will appear confirming WordPress has been installed successfully.
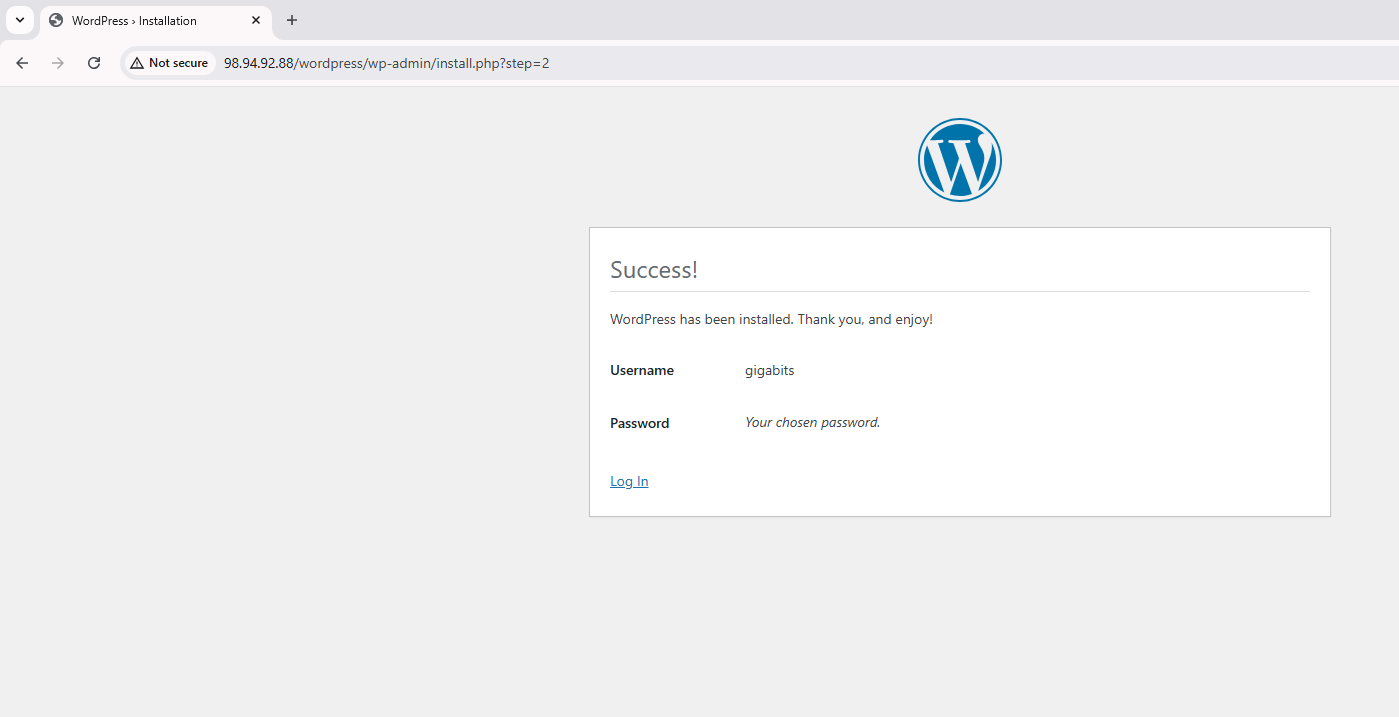
- Login Page: Click the Log In button or navigate to
http://<server ip address>/wordpress/wp-adminto access the WordPress admin login page. Use the username and password you created in Step 3.
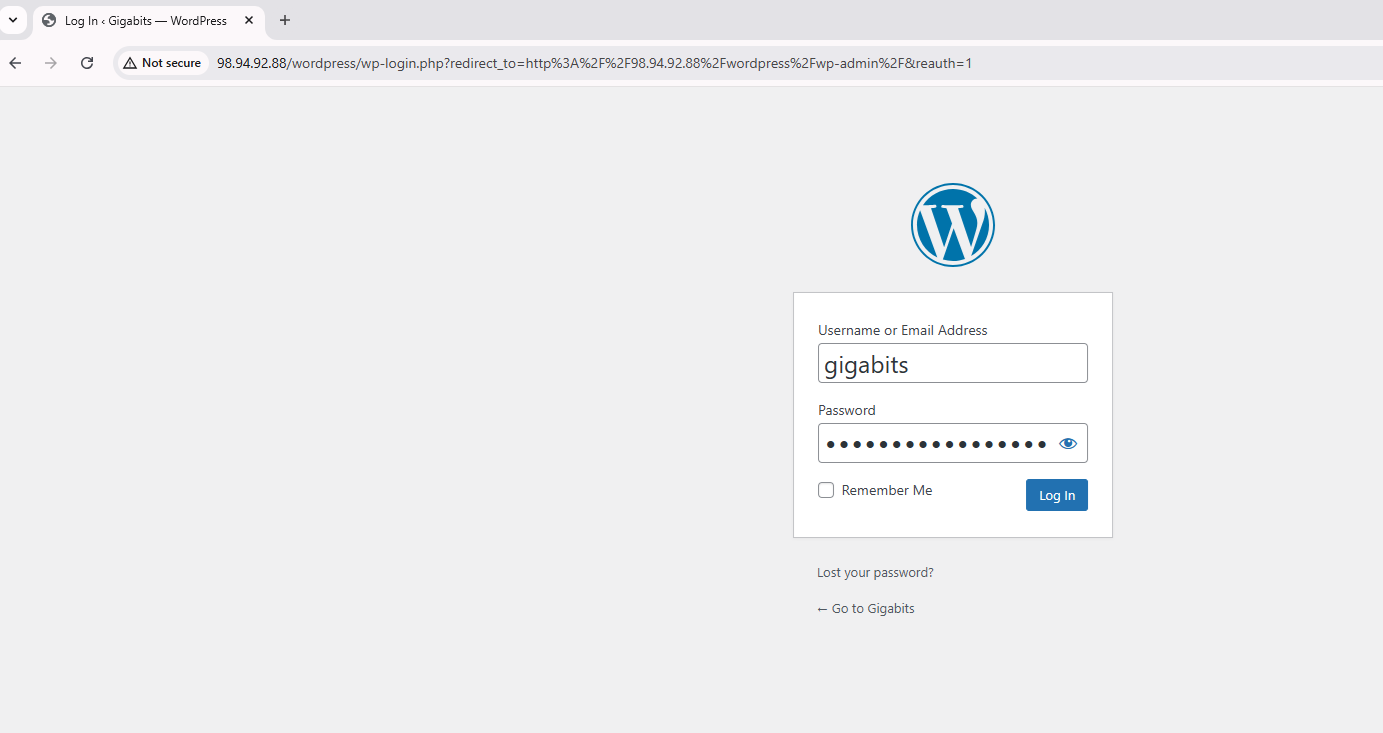
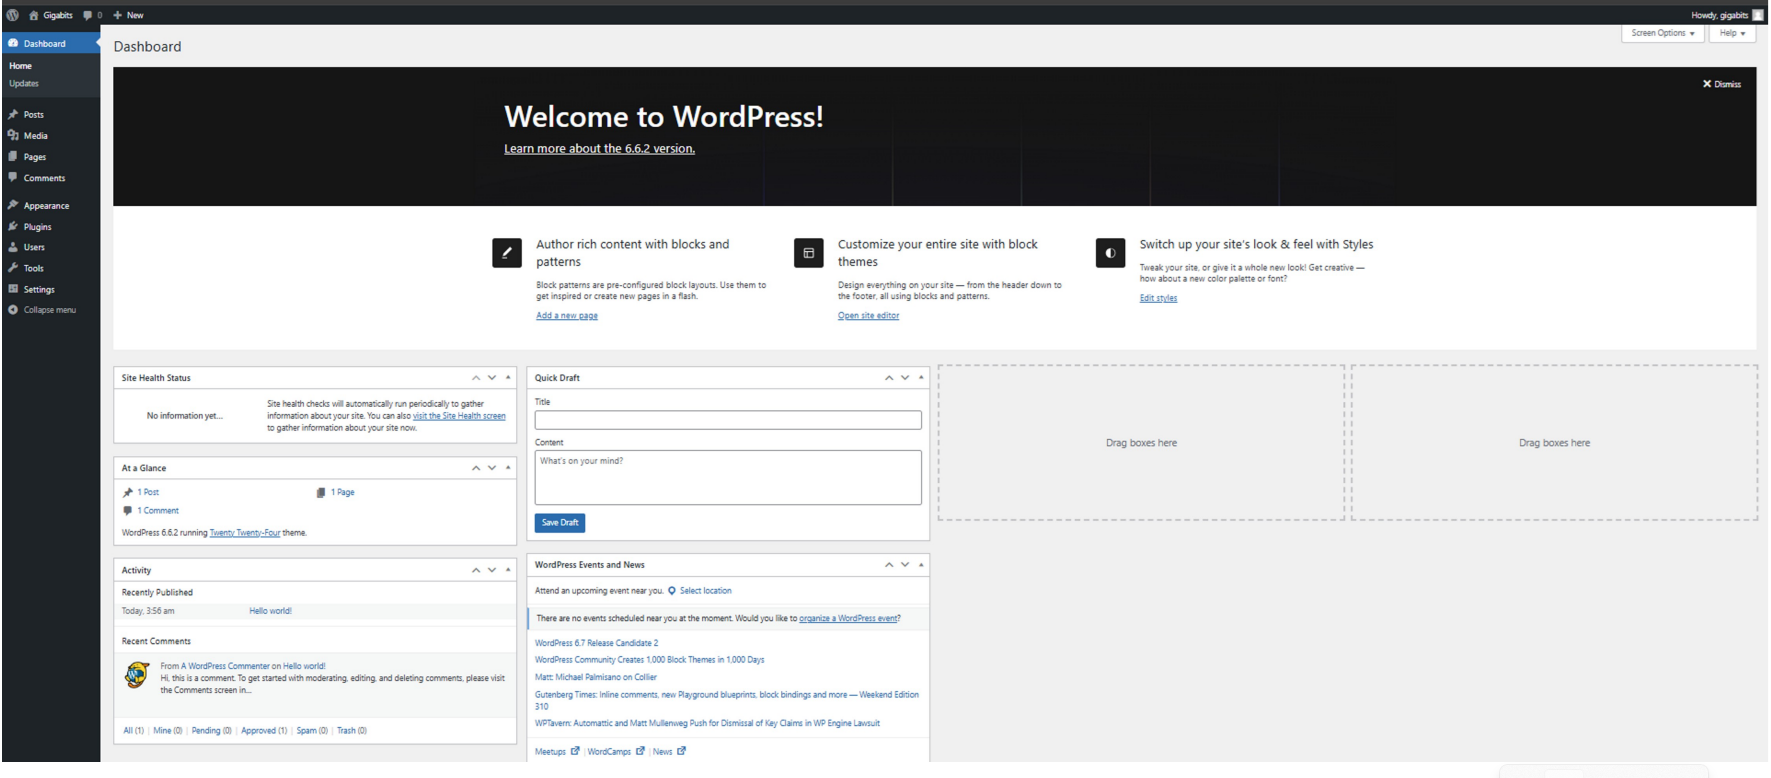
- WordPress Dashboard: After logging in, you will be directed to the WordPress dashboard where you can manage your site, create posts, install themes and plugins, and customize your website.
📝 Note: The database connection details are pre-configured in this AMI:
- Database Name:
wordpress_db - Database Server: MySQL
- DB Root Password: Leave empty (just press Enter)
- DB User:
wp_user(granted all privileges onwordpress_db) - DB User Password: Leave empty (just press Enter)
Related AMIs
LEMP on Ubuntu 24.04 Standard Guide
Explore our high-speed LEMP Stack AMIs, featuring optimized configurations for Ubuntu 24.04 and other releases.
LAMP on Ubuntu Standard Guide
Explore our high-performance LAMP Stack AMIs, available for Ubuntu 20.04, 22.04, and 24.04.
Browse All AMIs
Browse our entire AMI catalog, offering a full spectrum of OS, application, and infrastructure solutions.